Professional Radon Mitigation in Utah
Effective Radon Reduction. Professional Installation. No Pressure.
Total Radon Solutions provides professional radon mitigation systems for homeowners throughout Utah. We focus on effective radon reduction, clean installations, and solutions tailored to your home’s unique construction. We’ll explain your options, answer your questions, and provide a free, no-pressure estimate.
Based in Ephraim, we install radon mitigation systems throughout Sanpete, Sevier, Juab, and Utah counties, with service available statewide. Explore our Utah radon service areas, or contact us for a free mitigation estimate for your home.
Not sure whether your home needs mitigation? Start with our free radon testing in Utah, and we’ll help you understand your results before discussing installation options.
Table of Contents
Our Approach to Radon Mitigation in Utah
Every home is different, and radon mitigation should never be a one-size-fits-all solution. At Total Radon Solutions, we evaluate your home’s construction, foundation, and existing conditions before recommending a system. Our goal is to achieve effective radon reduction with a clean, professional installation while keeping the system as simple and unobtrusive as possible. We explain our recommendations, answer your questions, and never pressure you into making a decision.
Interior and Exterior Installation Options
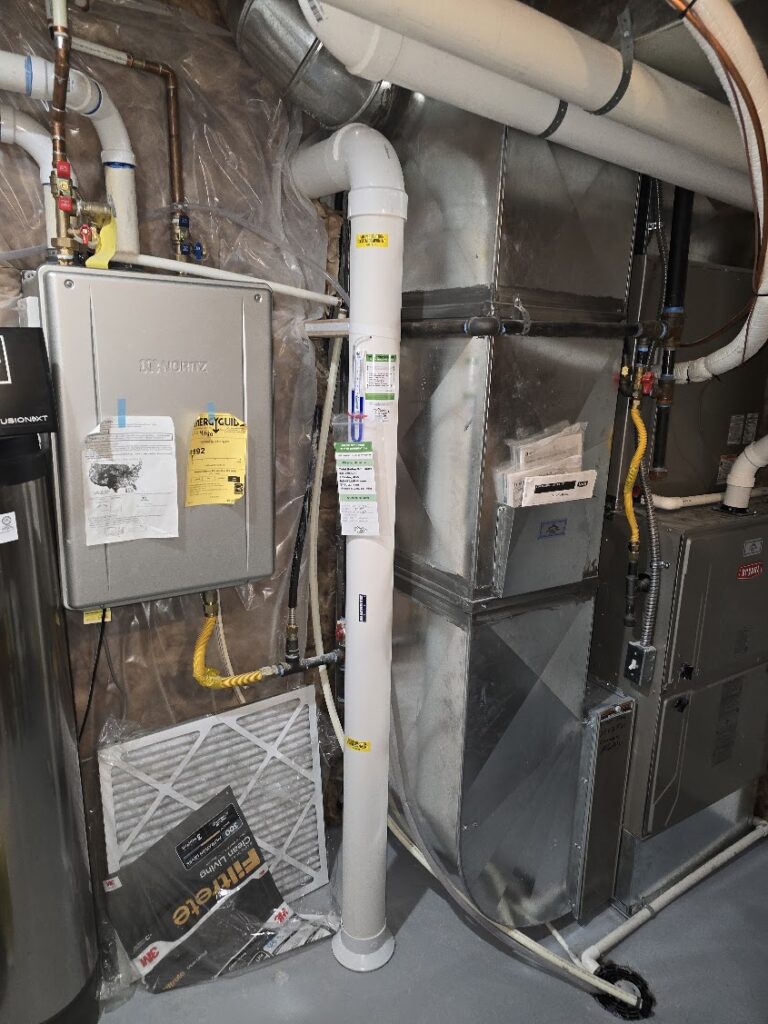
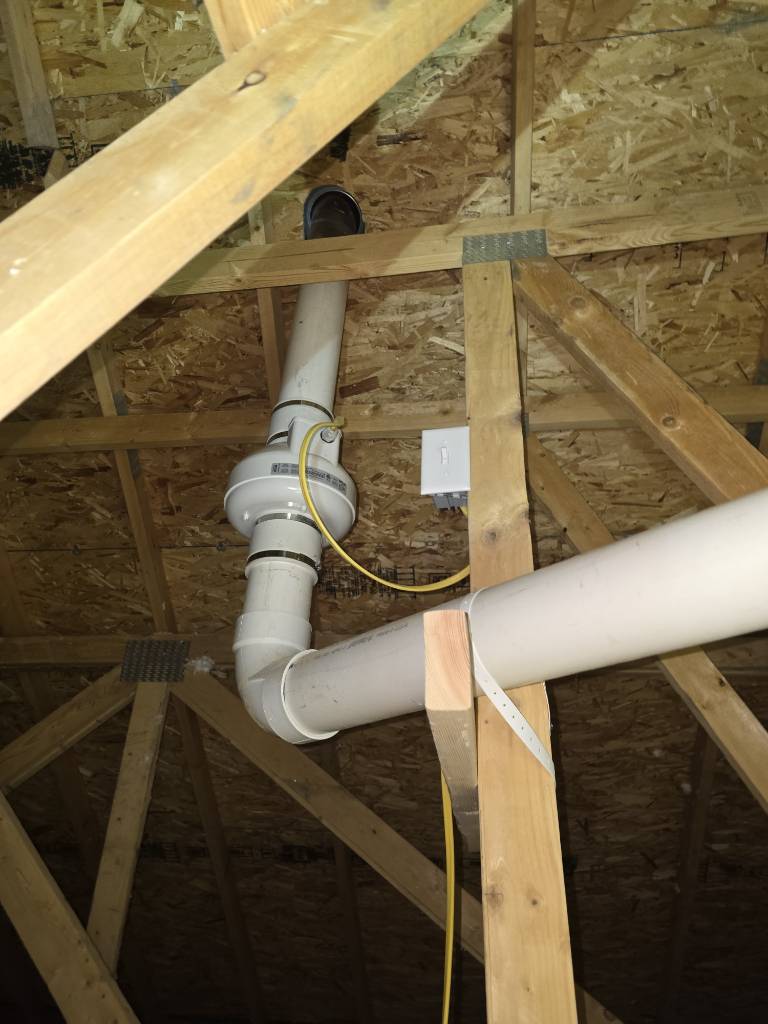
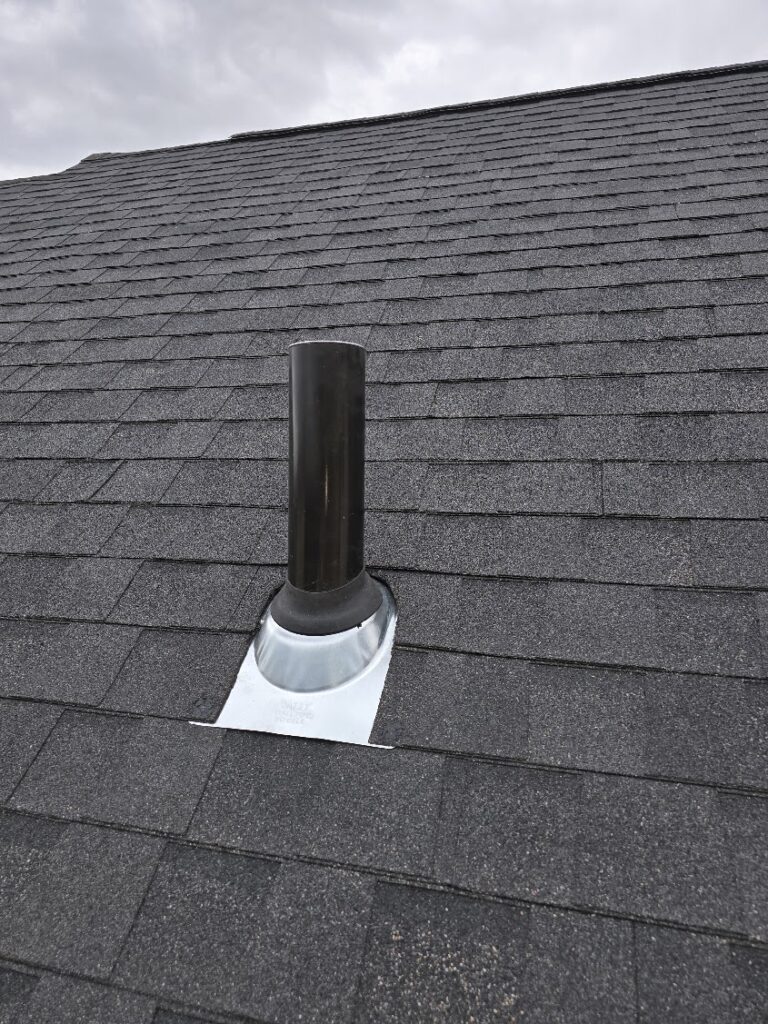
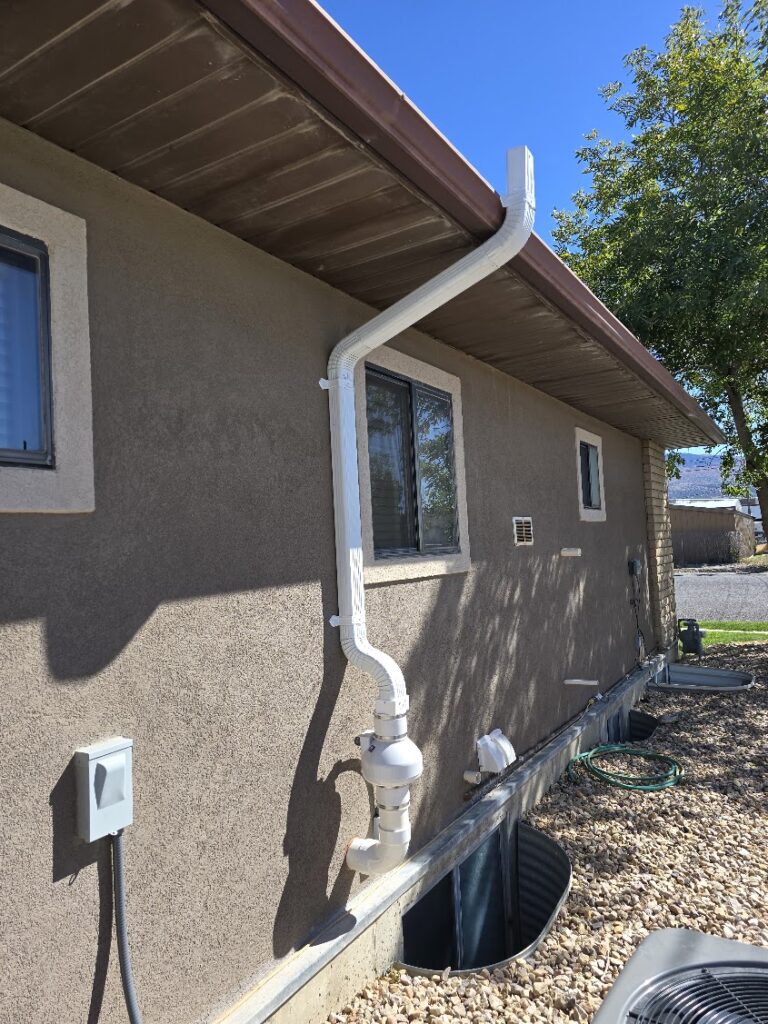
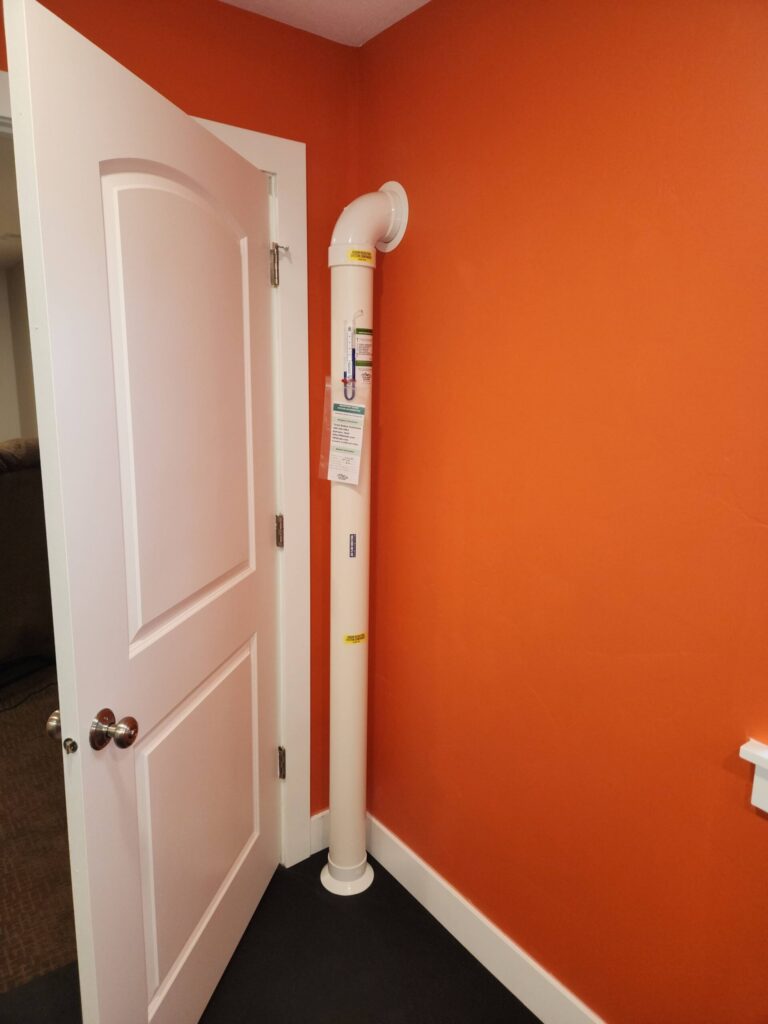
Whenever practical, we prefer to install radon mitigation systems inside the home, routing the piping through the attic and out through the roof. This helps keep the system discreet while maintaining effective radon reduction. When an interior installation isn’t practical, we can install an exterior system instead. We’ll explain the advantages of each option and help you choose what works best for your home.
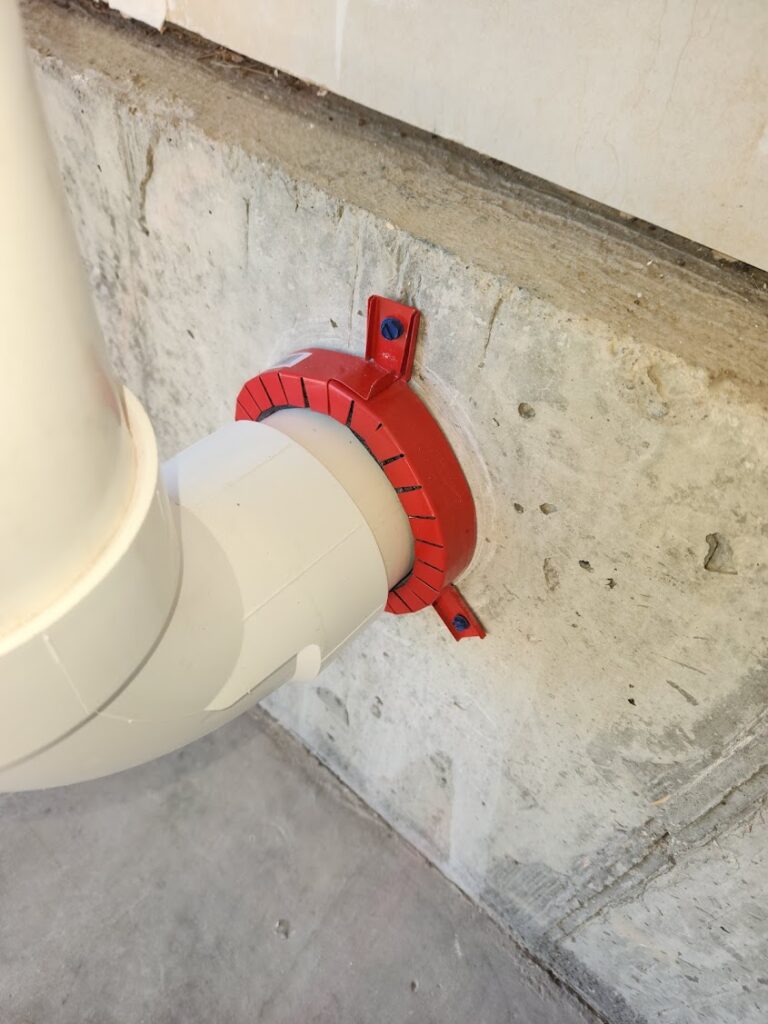
Examples From Our Installations
Efficient Radon Mitigation System Design
Many homes can be effectively mitigated with a single, properly designed radon reduction system. At Total Radon Solutions, we start with the simplest practical solution and evaluate its performance before recommending additional equipment. Larger or more complex homes may require additional measures, but our goal is always to provide effective radon reduction without unnecessary equipment or expense.
Learn more about our approach to radon mitigation, including thoughtful system placement, our four-phase estimates for larger homes, and follow-up testing.
Proper Suction Pit Preparation
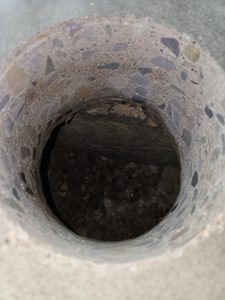
One of the most important parts of an effective radon mitigation system is something homeowners never see: the suction pit beneath the foundation. At Total Radon Solutions, we typically drill a 6¼-inch opening through the concrete, giving us better access to excavate a substantial collection area before transitioning to our standard 4-inch piping.
Our approach emphasizes excavating outward rather than simply digging deeper. By creating a wider suction pit, we increase the exposed area through which soil gas can be drawn into the system. We excavate to an appropriate depth for access, then work outward as far as practical to improve airflow beneath the foundation.
We aim to remove approximately 20 gallons of material whenever conditions permit, regardless of the soil conditions beneath the home. In highly permeable material, such as clean gravel, an effective system may require considerably less excavation—sometimes as little as two gallons. However, we believe that taking the extra time to create a larger suction pit can further improve soil gas collection and increase the likelihood of achieving effective radon reduction on the first installation.
This extra attention to suction pit preparation is one of the reasons we’re often able to successfully mitigate homes using a single system, even in situations where a less effective design might require additional suction points or equipment. Every home is different, but our goal is always the same: achieve reliable radon reduction with the simplest effective system.
Why We Prefer 4-Inch Piping
Some radon mitigation systems use 3-inch piping, but at Total Radon Solutions, we typically install 4-inch piping for a reason. When moving the same volume of air, a smaller pipe requires the air to travel faster, which can increase airflow noise and resistance. A properly designed system using 4-inch piping can help reduce that noise while allowing the fan to move air more efficiently. It’s one of the details we consider when designing a system that works effectively without creating unnecessary noise in your home.
Radon Mitigation Can Also Reduce Moisture and Musty Odors
Reducing radon can bring another welcome benefit: less moisture from beneath the home and a noticeable reduction in musty odors. As the system draws soil gases from beneath a concrete slab or sealed crawlspace membrane, it also carries water vapor outdoors. This can help reduce the amount of ground moisture entering your basement or crawlspace.
How much moisture can a system carry away? A contractor study prepared for the U.S. Environmental Protection Agency measured average moisture removal equivalent to approximately 13, 15, and 19 gallons of water per day at three Pennsylvania homes under the study’s initial system configurations. That moisture traveled outdoors as water vapor—not buckets of liquid water. These figures illustrate how much moisture a system can move from within and around a foundation; results vary with the home, system, and conditions.
Numerous Total Radon Solutions customers have reported that their homes smell noticeably fresher after installation. On some crawlspace projects, we start the fan at the end of the first day and return the next morning to a substantial reduction in musty odors. These improvements have been a welcome bonus for homeowners who initially contacted us about radon.
The moisture benefit varies with the home, soil conditions, and season. We address moisture at its source beneath the slab or membrane; active leaks and drainage problems still need their own repairs. Together, these measures can help create a drier, less musty space while the radon system continues its primary job of reducing radon.
Checking Your System After Installation
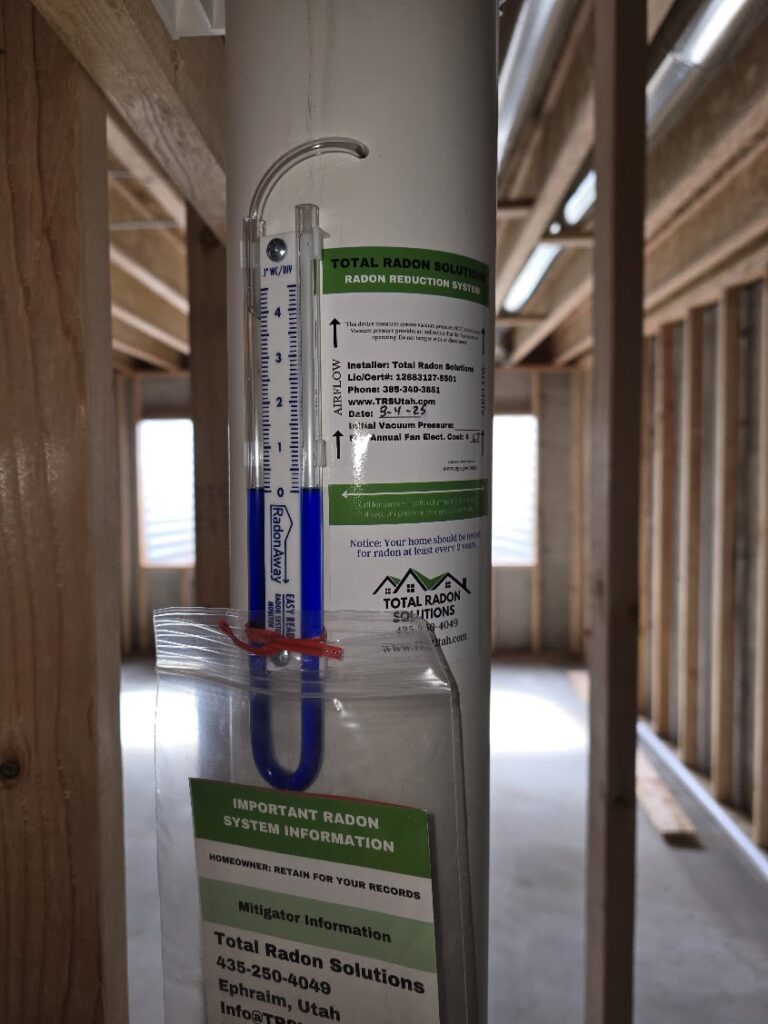
Your system’s pressure indicator, called a manometer, gives you a simple way to check for changes in system operation. It measures pressure—not radon levels. We explain how to read it and what reading to expect for your installation. If the reading changes noticeably or the fluid levels become equal, contact us so we can help determine the cause.
Follow-up radon testing confirms how well the system is reducing radon. Total Radon Solutions provides follow-up testing after installation, and we also recommend an independent third-party test for added confidence.
Honest Estimates. No Sales Pressure.
We believe homeowners deserve clear information and honest pricing when considering radon mitigation in Utah. At Total Radon Solutions, we take time to explain our recommendations, discuss your installation options, and provide a free, no-obligation estimate. Our quoted price is intended to cover the complete installation, without surprise charges or unnecessary upgrades. If you’d like to compare estimates from other companies, we encourage it. Our goal is to earn your confidence through knowledge, quality workmanship, and straightforward service—not sales pressure.
For independent information about choosing a radon professional, visit the U.S. Environmental Protection Agency’s guide to qualified testing and mitigation providers.
Building a new home? Explore our new construction radon systems to learn how early planning can simplify installation and preserve your home’s appearance.
Request Your FREE Radon Mitigation Estimate
Ready to reduce the radon levels in your home? Request a free, no-obligation estimate from Total Radon Solutions. We’ll review your home’s construction, explain your mitigation options, and recommend an effective solution without sales pressure.